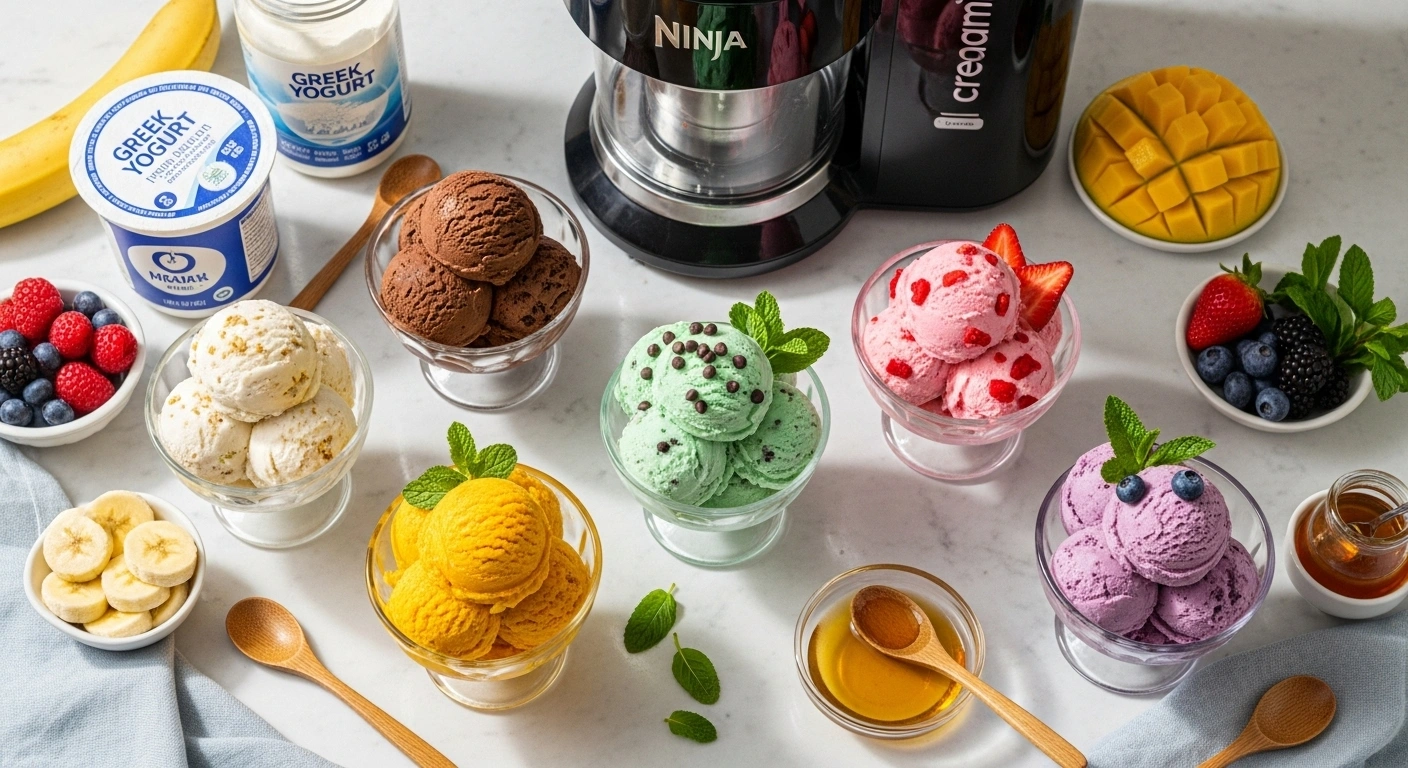
Creamy Vanilla Bean Ninja Creami Ice Cream
A rich, smooth, and incredibly creamy vanilla bean ice cream made effortlessly in the Ninja Creami. This recipe uses a secret ingredient, cream cheese, for a luxurious, custard-like texture without any eggs. It's the perfect base for all your favorite mix-ins!
Equipment
- 1 Ninja Creami Ice Cream Maker Including the outer bowl and creamerizer paddle lid
- 1 Ninja Creami Pint with Lid The container used for freezing and processing
Ingredients
- 1 tbsp 15g cream cheese, softened to room temperature
- ⅓ cup 67g granulated sugar
- 1 tsp vanilla bean paste or high-quality vanilla extract
- 1 cup 240 ml heavy cream
- Whole milk to reach the max fill line (approximately ¾ cup or ml)
Instructions
- Create the Base: In a medium bowl or directly in the Creami pint, add the softened cream cheese and sugar. Use a small whisk or fork to mix them together until completely smooth and no lumps remain. Microwaving the cream cheese for 5-10 seconds can help soften it.
- Add Liquids: Pour in the heavy cream and vanilla bean paste. Whisk thoroughly until the sugar is dissolved and the mixture is uniform.
- Fill the Pint: If you mixed in a separate bowl, pour the mixture into the Ninja Creami pint. Top off with whole milk until you reach the marked "Max Fill" line.
- Final Stir & Freeze: Stir the entire mixture one last time to ensure everything is combined. Secure the storage lid onto the pint. Place the pint on a level surface in your freezer and freeze for at least 24 hours.
- Prepare to Spin: Once fully frozen solid, remove the pint from the freezer and take off the storage lid. Place the pint into the outer processing bowl. Attach the creamerizer paddle to the outer bowl lid and lock the lid assembly in place.
- Process: Place the entire bowl assembly into the Ninja Creami machine base and twist up to lock it. Select the ICE CREAM program and press the dial to start.
- Check and Re-spin: After the cycle is complete, remove the bowl. The ice cream may appear powdery or crumbly. This is normal. To achieve a creamy texture, add 1-2 tablespoons of milk or cream, place it back in the machine, and run the RE-SPIN cycle.
- Serve or Add Mix-ins: Your ice cream is now ready! Enjoy it as is for a delicious soft-serve consistency. To add mix-ins (like crushed cookies, sprinkles, or chocolate chips), create a well in the center of the ice cream, add your ingredients, and run the MIX-IN cycle.
Notes
- Level Freezing: It is critical to freeze the pint on a completely flat surface. If the base freezes at an angle, it can damage the machine's paddle during processing.
- Patience is Key: Do not try to process the base before it has been frozen for a full 24 hours. A properly frozen base is the key to the best texture.
- Don't Overfill: Never fill ingredients past the "Max Fill" line. The mixture will expand during freezing and processing.
- For a Firmer Scoop: For a more traditional, firm ice cream, transfer the processed ice cream back into the pint, put the lid on, and place it in the freezer for 30-60 minutes before serving.