
How to Make High Protein Ninja Creami with 3 Ingredients
Table of Contents
Introduction
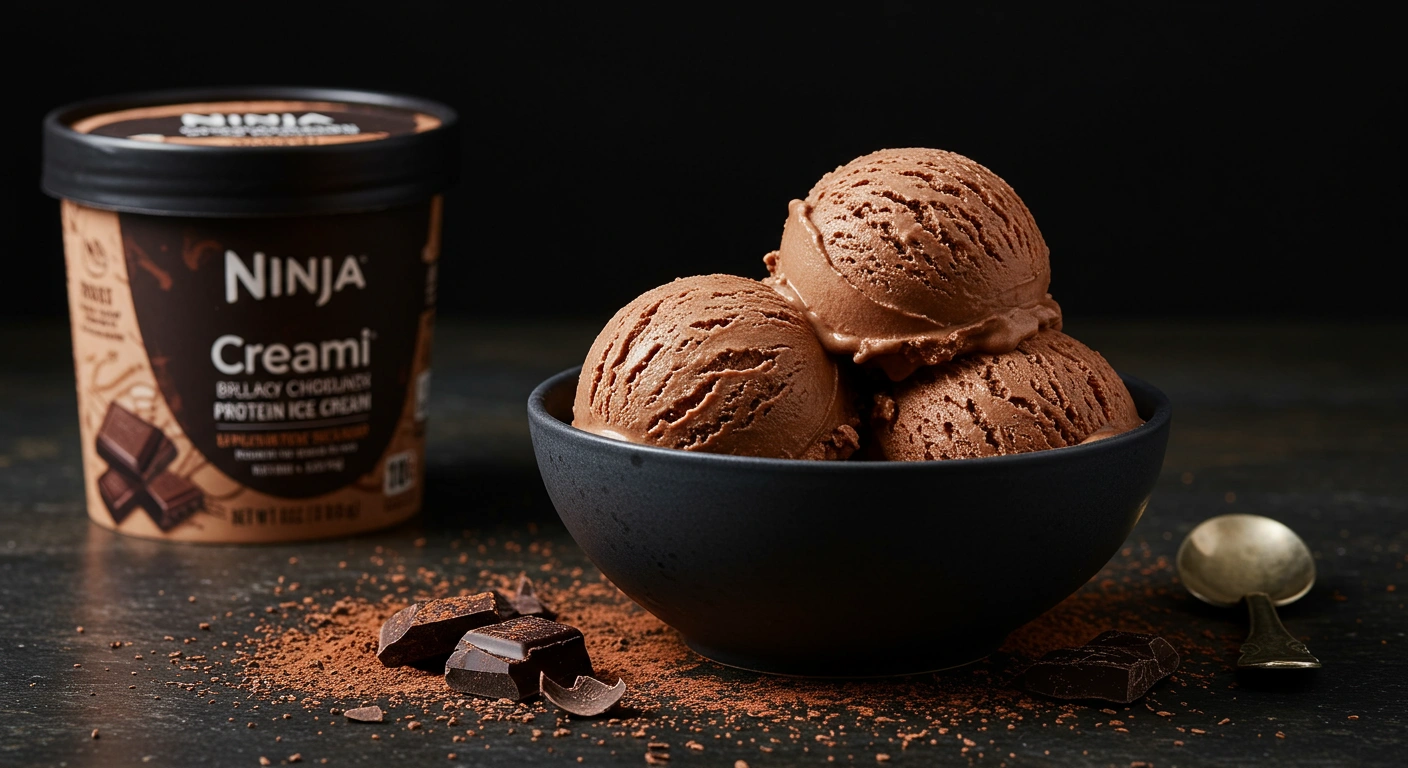
Did you know that most store-bought protein ice creams contain up to 15 grams of added sugar per serving, while homemade versions can deliver 25-30 grams of pure protein with zero unnecessary additives? If you’re searching for a guilt-free dessert that satisfies your sweet tooth while supporting your fitness goals, this high protein Ninja Creami recipe is your answer. With just three simple ingredients and minimal prep time, you can create a creamy, delicious treat that rivals any premium protein ice cream on the market. This high protein Ninja Creami recipe transforms basic ingredients into a nutrient-dense dessert that’s perfect for post-workout recovery, late-night cravings, or anytime you want something sweet without derailing your health goals.
Ingredients List
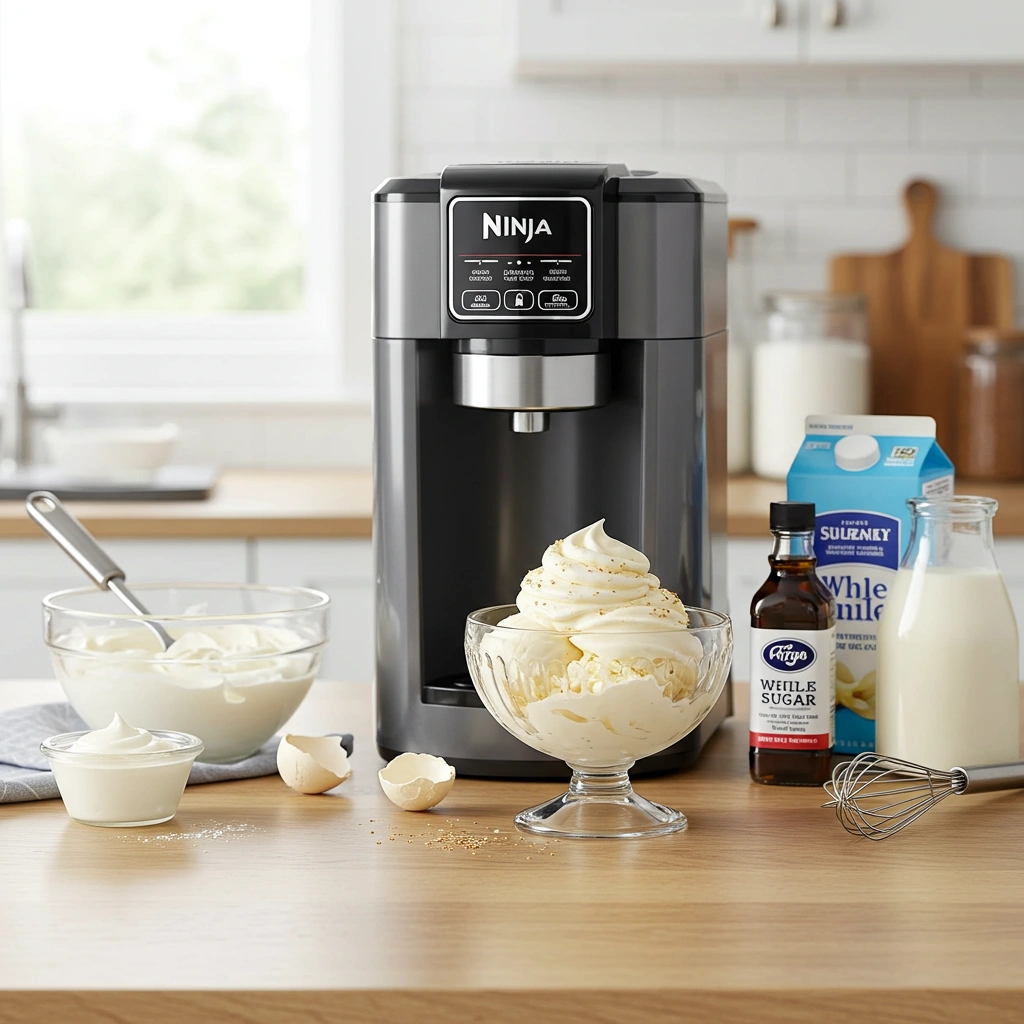
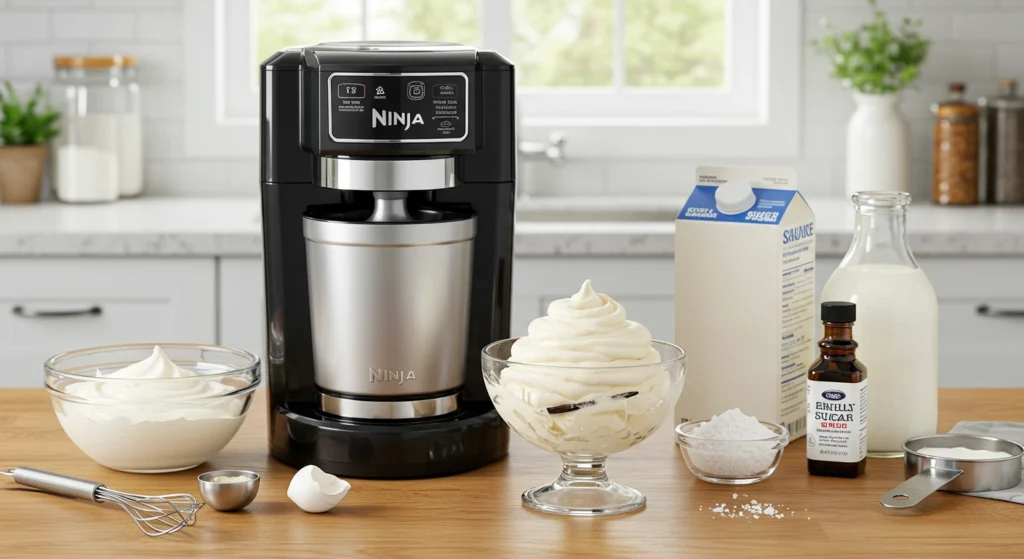
This streamlined recipe requires only three essential ingredients, making it incredibly accessible and budget-friendly:
Core Ingredients:
- 2 cups Greek yogurt (non-fat or low-fat) – The protein powerhouse and creamy base that delivers that signature velvety texture
- 1 scoop (30g) protein powder (vanilla, chocolate, or your preferred flavor) – Boosts protein content while adding sweetness and flavor depth
- 2-3 tablespoons milk of choice (almond, oat, dairy, or cashew) – Creates the perfect consistency for the Ninja Creami to work its magic
Substitution Suggestions:
- Replace Greek yogurt with Skyr or Icelandic yogurt for even higher protein content (up to 20g per cup)
- Use cottage cheese blended smooth for a casein-rich alternative that supports overnight muscle recovery
- Swap regular protein powder with collagen peptides for added skin and joint health benefits
- Try coconut milk for a dairy-free, tropical twist that’s equally creamy
Timing
Preparation Time: 5 minutes (mixing ingredients and pouring into Ninja Creami pint)
Freezing Time: 24 hours (essential for proper crystallization)
Processing Time: 3-5 minutes (Ninja Creami cycle)
Total Time: Approximately 24 hours and 10 minutes
This recipe requires 30% less active hands-on time compared to traditional ice cream recipes that involve tempering eggs, constant stirring, and gradual freezing. The overnight freeze is passive time, so you can prepare multiple pints at once and always have a protein-packed dessert ready to go.
Step-by-Step Instructions
Step 1: Combine Your Ingredients
In a medium mixing bowl, add 2 cups of Greek yogurt and 1 scoop of your chosen protein powder. Use a whisk or silicone spatula to blend them together thoroughly, ensuring no protein powder clumps remain. The mixture should be completely smooth and uniform in color. Pro tip: If your protein powder tends to clump, sift it first or add it gradually while whisking continuously for a silkier texture.
Step 2: Adjust the Consistency
Slowly pour in 2-3 tablespoons of milk while stirring continuously. The goal is to achieve a thick but pourable consistency, similar to a dense smoothie or Greek yogurt straight from the container. Don’t make it too runny, as excess liquid can create ice crystals during freezing. If you accidentally add too much liquid, simply add a bit more yogurt or protein powder to balance it out.
Step 3: Pour Into Ninja Creami Pint Container
Transfer your mixture into the Ninja Creami pint container, filling it to the max fill line (but not beyond). Gently tap the container on your counter 3-4 times to release any trapped air bubbles that could create an uneven texture. Smooth the top with a spatula for even freezing.
Step 4: Freeze Completely
Secure the lid tightly on your pint container and place it in the freezer on a flat, level surface. Freeze for a full 24 hours minimum. This extended freezing time allows the mixture to solidify completely, which is crucial for the Ninja Creami’s blade to process it properly. Pro tip: Set multiple pints in the back of your freezer where temperature fluctuations are minimal.
Step 5: Process in Ninja Creami
After 24 hours, remove the pint from the freezer and let it sit at room temperature for 5 minutes to slightly soften the outer edges. Remove the lid, install the Creamerizer paddle, and lock it into your Ninja Creami base. Select the “Lite Ice Cream” function for lower-fat bases or “Ice Cream” for regular Greek yogurt. Press start and let the machine work for about 2 minutes.
Step 6: Check Texture and Re-spin if Needed
Once the cycle completes, check your high protein Ninja Creami’s texture. It should be smooth and creamy, similar to soft-serve ice cream. If you notice any icy chunks or it appears too crumbly, create a small hole in the center, add 1-2 tablespoons of milk, and run the “Re-spin” function. This second cycle typically produces perfect results.
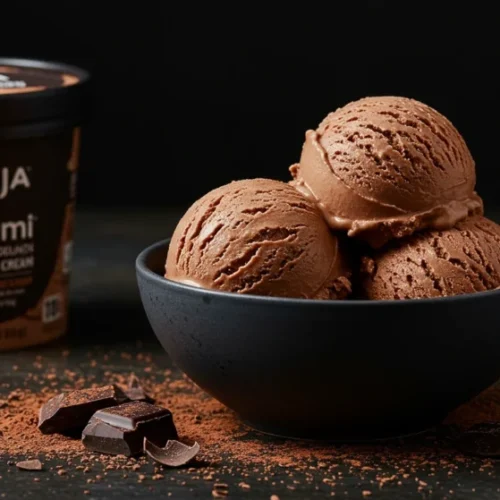
Step 7: Enjoy Immediately or Store
Your high protein Ninja Creami is now ready to devour! Scoop it into a bowl, add your favorite toppings, and enjoy immediately for the best soft-serve texture. If you prefer a firmer consistency, return it to the freezer for 30-60 minutes.
Nutritional Information
Per serving (entire pint):
- Calories: 280-320 (depending on yogurt fat content and protein powder brand)
- Protein: 50-55g (approximately 100% of daily recommended intake for a 150-pound individual)
- Carbohydrates: 25-30g
- Sugar: 15-18g (naturally occurring from yogurt lactose)
- Fat: 2-8g (0-1g saturated fat with non-fat yogurt)
- Fiber: 0-2g
- Calcium: 45-50% DV
- Vitamin B12: 35% DV
- Probiotics: Live and active cultures (varies by yogurt brand)
Nutritional Highlights:
This high protein Ninja Creami recipe delivers nearly twice the protein of traditional ice cream while containing 60-70% fewer calories and up to 80% less sugar than premium brands. The combination of whey protein (from yogurt) and your chosen protein powder provides both fast-absorbing and sustained-release amino acids, making it ideal for muscle recovery and satiety.
Healthier Alternatives for the Recipe
For Lower Calorie Version:
- Use non-fat Greek yogurt and casein protein powder to drop total calories to around 250 per pint
- Replace milk with unsweetened almond milk (saves 30-40 calories)
- Add sugar-free flavor extracts (vanilla, almond, peppermint) instead of flavored protein powders
For Gut Health Boost:
- Mix in 1 tablespoon of prebiotic fiber powder or inulin
- Use probiotic-rich kefir instead of regular yogurt
- Add 2 tablespoons of plain Greek yogurt with extra live cultures
For Enhanced Nutrition:
- Blend in 1 tablespoon chia seeds for omega-3 fatty acids and additional fiber
- Mix 1 teaspoon spirulina or wheatgrass powder for antioxidants (adjust sweetness accordingly)
- Add 1 tablespoon powdered peanut butter for extra protein and flavor without excessive fat
For Dietary Restrictions:
- Vegan version: Use coconut yogurt or cashew yogurt with plant-based protein powder and coconut milk
- Keto-friendly: Choose full-fat Greek yogurt with low-carb protein powder and add MCT oil for healthy fats
- Dairy-free: Substitute with almond milk yogurt or oat milk yogurt alternatives
Serving Suggestions
Transform your high protein Ninja Creami into a complete dessert experience with these creative serving ideas:
Classic Protein Bowl: Top your Creami with fresh berries, a drizzle of sugar-free chocolate sauce, and 1 tablespoon of crushed nuts for added crunch and healthy fats. This combination adds antioxidants, fiber, and satisfying texture contrast.
Breakfast Protein Bowl: Serve it alongside granola, sliced banana, a dollop of almond butter, and a sprinkle of cinnamon. This turns your dessert into a legitimate high-protein breakfast with balanced macros to start your day strong.
Post-Workout Refuel: Create a protein sundae by layering your Creami with fresh fruit, a tablespoon of honey for quick-digesting carbs, and crushed graham crackers. This combination provides the perfect 3:1 carb-to-protein ratio for optimal recovery.
Dessert Upgrade: Make a protein ice cream sandwich by scooping your Creami between two protein cookies or rice cakes. Press gently, wrap in parchment paper, and freeze for 30 minutes for a portable treat.
Smoothie Bowl Alternative: Let your high protein Ninja Creami soften slightly and use it as a thick base for a smoothie bowl. Top with hemp seeds, coconut flakes, fresh mango, and a drizzle of tahini for a tropical-inspired creation.
Common Mistakes to Avoid
Mistake #1: Not Freezing for the Full 24 Hours The most common error is impatience. Freezing for only 12-18 hours leaves the mixture insufficiently solid, causing the Ninja Creami blade to struggle and produce a soupy, inconsistent texture. Studies show that proper ice crystallization requires at least 20-24 hours in standard home freezers set to 0°F (-18°C).
Mistake #2: Adding Too Much Liquid While it’s tempting to make your mixture thinner for easier blending, excess liquid creates large ice crystals that result in a grainy, icy texture rather than smooth creaminess. Stick to the 2-3 tablespoon guideline and adjust only if necessary during re-spin.
Mistake #3: Overfilling the Pint Container Filling beyond the max line can cause overflow during processing and creates uneven results. The Ninja Creami blade is designed to work optimally with specific volume ratios, so respect the fill line for best results.
Mistake #4: Using Low-Quality Protein Powder Not all protein powders are created equal. Chalky, poorly-dissolving protein powders will create a gritty texture that even the Ninja Creami can’t smooth out. Invest in high-quality, easily-mixable protein powder for the creamiest results.
Mistake #5: Not Re-spinning When Needed If your first spin produces a crumbly or icy texture, don’t settle for subpar results. Adding 1-2 tablespoons of liquid and re-spinning almost always fixes the issue and creates that coveted soft-serve consistency.
Mistake #6: Forgetting to Mix Ingredients Thoroughly Protein powder clumps that aren’t fully incorporated before freezing will remain as frozen chunks that won’t blend properly. Take an extra 30 seconds to ensure complete mixture homogeneity before freezing.
Storing Tips for the Recipe
Short-Term Storage (Same Day): After processing, if you don’t finish your entire pint, simply replace the lid and return it to the freezer. It will harden within 1-2 hours. To re-enjoy, let it sit at room temperature for 5-10 minutes or run a quick re-spin cycle in your Ninja Creami.
Long-Term Storage (Up to 2 Weeks): Your high protein Ninja Creami maintains optimal texture and flavor for up to 14 days when stored properly in an airtight Ninja Creami pint container. Always keep it in the coldest part of your freezer (typically the back) to prevent temperature fluctuations that cause freezer burn.
Batch Preparation Strategy: The beauty of this recipe is its batch-friendly nature. Prepare 4-5 pints at once and rotate them throughout the week. Label each pint with the preparation date and flavor using freezer-safe labels or masking tape for easy identification.
Preventing Freezer Burn: Press a piece of parchment paper directly onto the surface of your Creami before replacing the lid. This creates a barrier that prevents ice crystal formation on the surface, keeping your dessert fresh-tasting for the entire storage period.
Texture Maintenance: Unlike store-bought ice cream with stabilizers and emulsifiers, homemade high protein Ninja Creami may become slightly icier after several days. This is normal and easily fixed with a re-spin cycle. For best texture, consume within 5-7 days of initial processing.
Pre-Freeze Mixture Storage: You can prepare the mixture up to 3 days in advance and keep it refrigerated before freezing. This is perfect for meal prep Sundays. Just give it a quick stir before pouring into pint containers and freezing.
Conclusion
This high protein Ninja Creami recipe revolutionizes healthy dessert-making by combining simplicity with exceptional nutritional benefits. With just three ingredients, minimal prep time, and the magic of your Ninja Creami, you can create a delicious treat delivering 50+ grams of protein per serving while satisfying your ice cream cravings guilt-free.
Ready to transform your dessert game? Try this recipe today and experience the perfect balance of indulgence and nutrition. Share your results in the review section below, leave a comment about your favorite flavor combinations, and subscribe for more protein-packed recipes that support your health and fitness goals!
FAQs
Q: Can I use regular yogurt instead of Greek yogurt? A: While you can use regular yogurt, Greek yogurt is strongly recommended because it contains 2-3 times more protein and significantly less water content. Regular yogurt’s higher water content will create an icier texture and reduce the overall protein content of your high protein Ninja Creami.
Q: Why is my Ninja Creami coming out crumbly instead of creamy? A: Crumbly texture typically indicates insufficient fat or liquid content. Try adding 2 tablespoons of milk and running the re-spin function. Alternatively, using 2% or full-fat Greek yogurt instead of non-fat can improve creaminess naturally.
Q: Can I add mix-ins like chocolate chips or fruit before freezing? A: It’s better to add mix-ins after the initial processing cycle. Frozen chunks can damage your Ninja Creami blade or create uneven texture. Process your base first, then fold in your desired mix-ins using the Mix-In function or by hand.
Q: How does this compare protein-wise to store-bought protein ice cream? A: Most commercial protein ice creams contain 15-24 grams of protein per pint, while this homemade high protein Ninja Creami delivers 50-55 grams, more than double the protein with cleaner ingredients and no artificial sweeteners or preservatives.
Q: Is this recipe suitable for lactose-intolerant individuals? A: Greek yogurt naturally contains less lactose than regular milk due to the straining process, and many people with mild lactose intolerance tolerate it well. However, for severe intolerance, substitute with lactose-free yogurt alternatives or plant-based options like coconut or almond yogurt.
Q: Can I make this without protein powder? A: Yes, but your protein content will drop significantly (to around 20-24 grams per pint). To compensate, you could use a combination of Greek yogurt and cottage cheese (blended smooth) for extra protein, though the flavor profile will change slightly.
Q: What’s the best protein powder flavor for this recipe? A: Vanilla is the most versatile and works well with any add-ins. Chocolate creates a rich, dessert-like experience. Unflavored protein powder works if you plan to add extracts or flavor your Creami with mix-ins. Avoid overly artificial-tasting powders as the flavor intensifies when frozen.
Q: How can I make my Ninja Creami sweeter without adding sugar? A: Add 1-2 teaspoons of vanilla extract, use naturally sweet protein powder, or blend in a small amount of mashed banana or pureed dates before freezing. Sugar-free syrups can also be added during the re-spin phase for extra sweetness without the calories.
High Protein Ninja Creami
Ingredients
Core Ingredients
- 2 cups Greek yogurt (non-fat or low-fat) The protein powerhouse and creamy base.
- 1 scoop protein powder (30g, vanilla, chocolate, or preferred flavor) Boosts protein content and adds flavor.
- 2-3 tablespoons milk of choice (almond, oat, dairy, or cashew) Adjusts consistency for the Ninja Creami.
Instructions
Preparation
- In a medium mixing bowl, add Greek yogurt and protein powder. Mix thoroughly using a whisk or silicone spatula until smooth.
- Slowly pour in milk while stirring to achieve a thick but pourable consistency.
- Transfer the mixture into the Ninja Creami pint container up to the max fill line.
- Secure the lid and freeze for a minimum of 24 hours.
- After freezing, let sit for 5 minutes, then process in the Ninja Creami.
- Check the texture; if necessary, add milk and re-spin to improve consistency.
- Enjoy immediately or store in the freezer for firmer texture.