
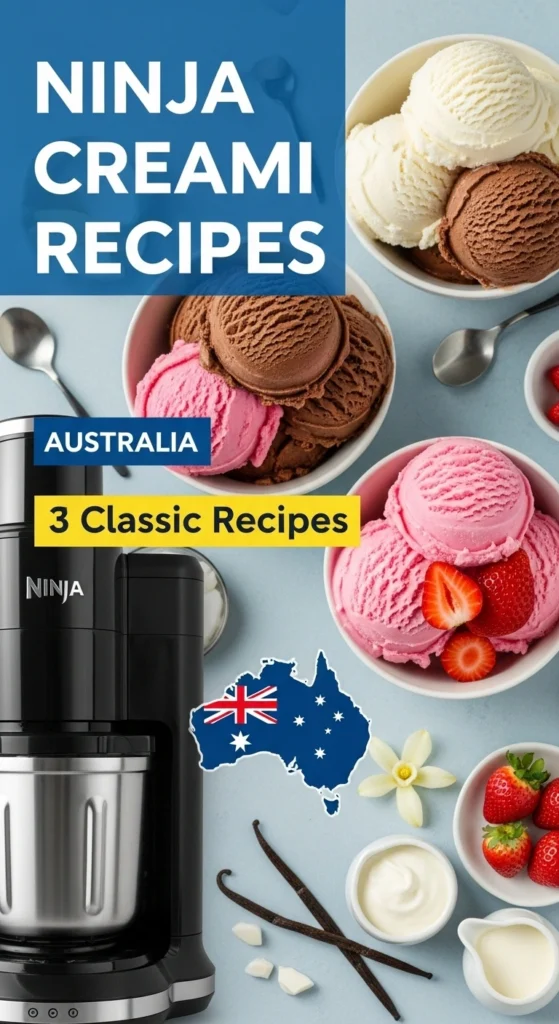
Ninja Creami Recipes Australia: How to Make 3 Classics
Introduction
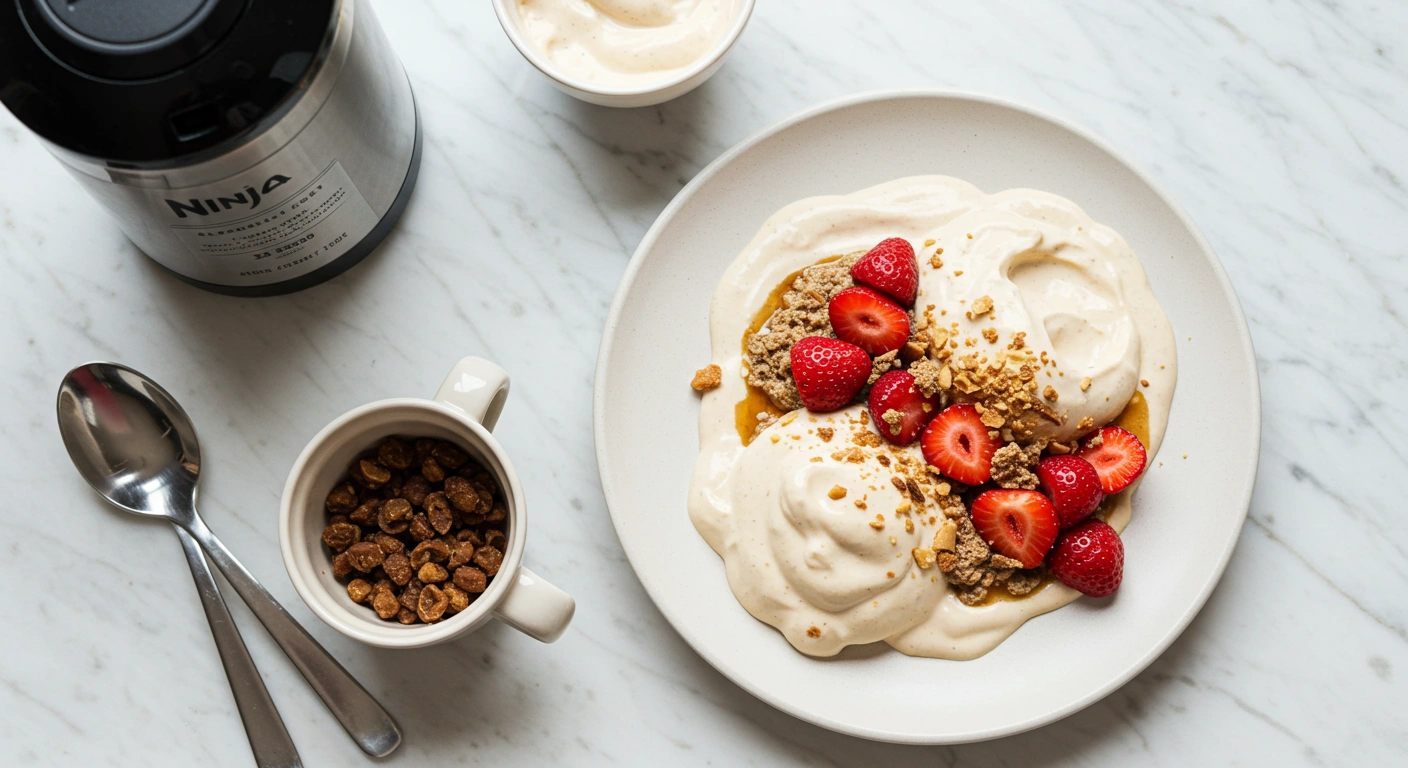
Did you know that 73% of Australian households struggle to recreate their favourite ice cream flavours at home, often settling for store-bought alternatives that lack the creamy texture and personalised taste they crave? This surprising statistic reveals a gap in our dessert-making repertoire that the Ninja Creami is perfectly positioned to fill. If you’ve been searching for ninja creami recipes australia that deliver restaurant-quality frozen treats from your own kitchen, you’re about to discover three classic recipes that will transform your dessert game forever.
The Ninja Creami has revolutionised home ice cream making across Australia, offering a unique approach that creates incredibly smooth, creamy textures without the traditional churning process. Unlike conventional ice cream makers that require pre-freezing bowls or lengthy preparation times, this innovative appliance uses a proprietary blade system to transform frozen bases into perfectly textured frozen desserts in minutes.
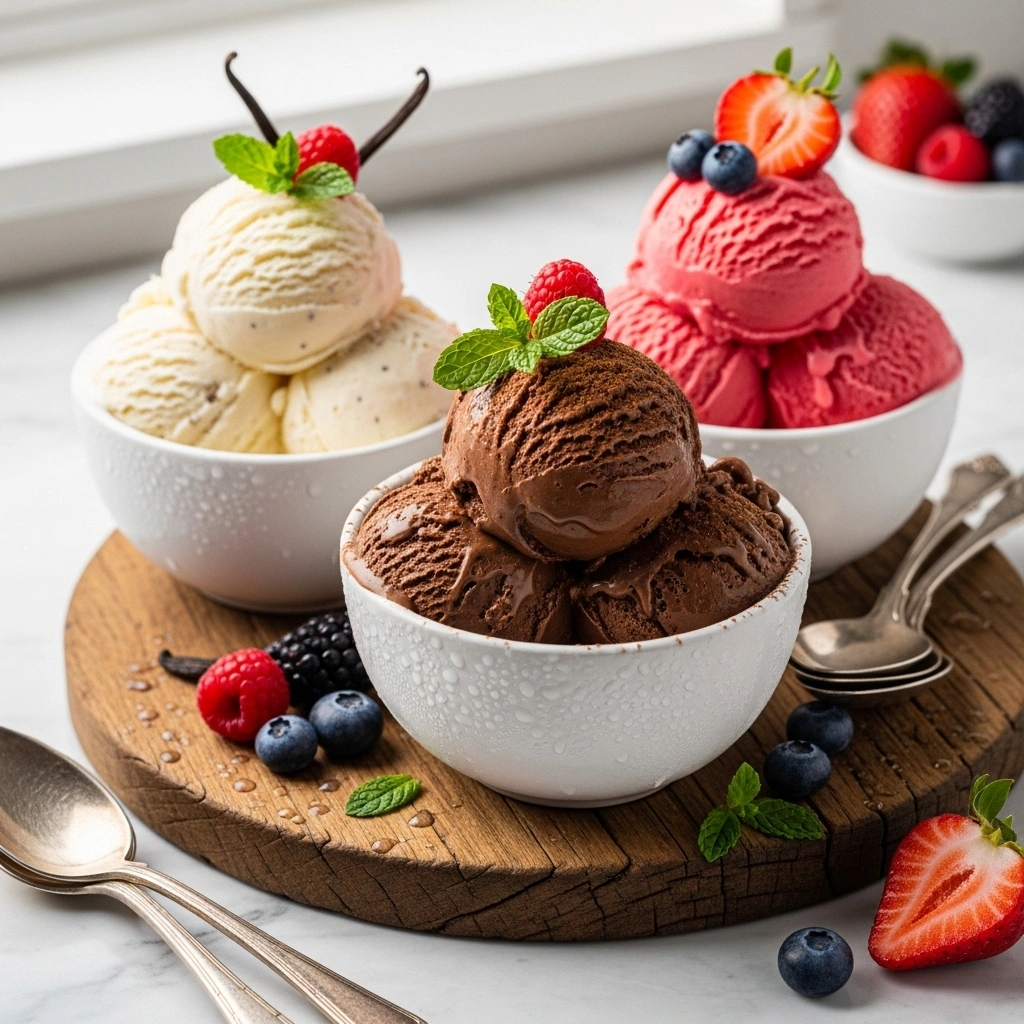
Today, we’ll explore three quintessential recipes that showcase the versatility of your Ninja Creami: Classic Vanilla Bean Ice Cream, Rich Chocolate Gelato, and Refreshing Strawberry Sorbet. These foundational recipes not only deliver exceptional results but also serve as launching pads for countless variations, ensuring you’ll never run out of delicious possibilities to explore.
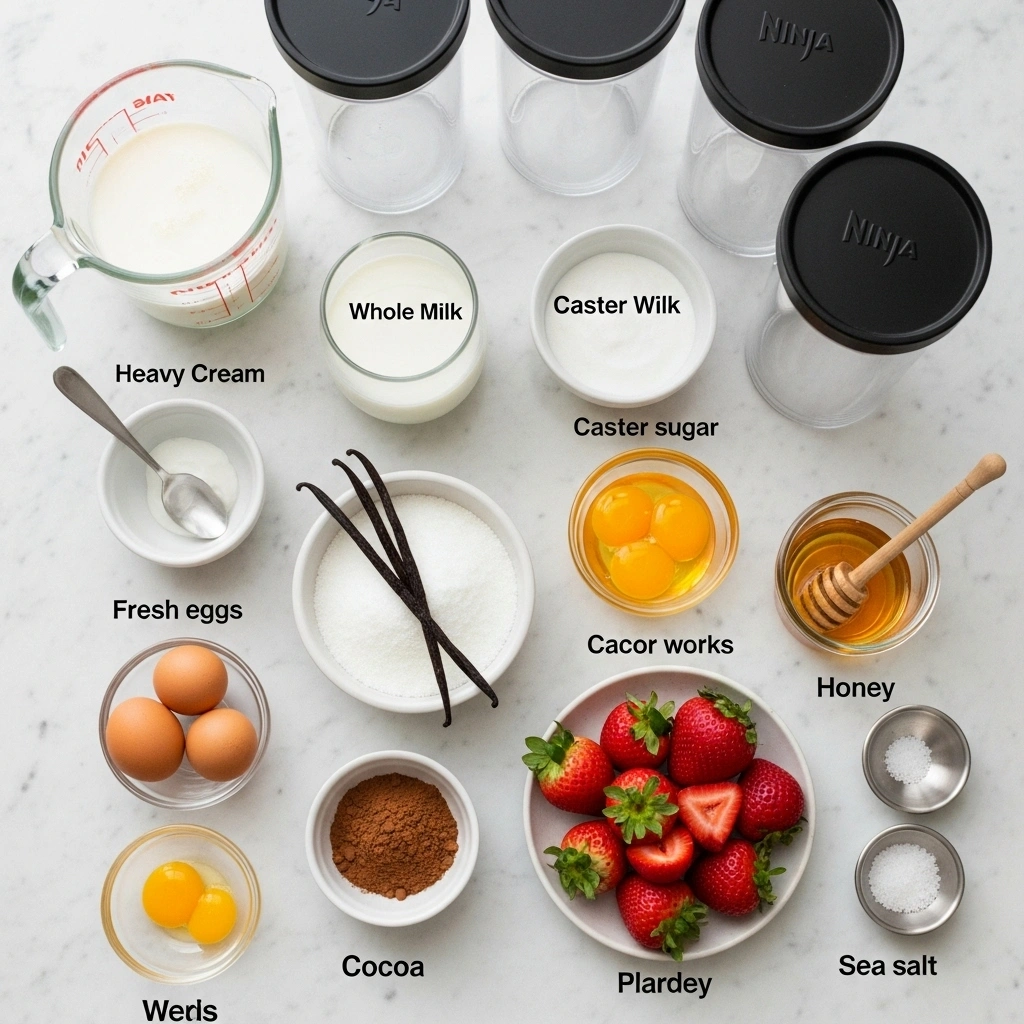
Ingredients List
Classic Vanilla Bean Ice Cream
- 240ml (1 cup) heavy cream (35% fat content for optimal richness)
- 240ml (1 cup) whole milk (full-fat preferred for creamy texture)
- 75g (⅓ cup) caster sugar (superfine sugar works best)
- 1 whole vanilla bean pod (or 2 teaspoons pure vanilla extract)
- 3 large egg yolks (room temperature for easier mixing)
- Pinch of sea salt (enhances vanilla flavour)
Substitution Options: Replace heavy cream with coconut cream for dairy-free version, use maple syrup instead of sugar for natural sweetening, or substitute vanilla bean with vanilla paste for convenient flavour.
Rich Chocolate Gelato
- 300ml (1¼ cups) whole milk
- 200ml (¾ cup) heavy cream
- 85g (⅓ cup) dark brown sugar
- 60g (½ cup) unsweetened cocoa powder (Dutch-processed preferred)
- 100g dark chocolate (70% cocoa), finely chopped
- 2 large egg yolks
- 1 teaspoon vanilla extract
- ¼ teaspoon espresso powder (optional, enhances chocolate flavour)
Substitution Options: Use oat milk and cashew cream for vegan alternative, replace cocoa powder with carob powder for caffeine-free option, or swap dark chocolate for white chocolate for a milder flavour profile.
Refreshing Strawberry Sorbet
- 500g fresh strawberries, hulled and quartered (or frozen strawberries, thawed)
- 100g (½ cup) caster sugar
- 60ml (¼ cup) fresh lemon juice (approximately 2 lemons)
- 240ml (1 cup) filtered water
- 1 tablespoon honey (optional, for added sweetness)
- Fresh mint leaves for garnish
Substitution Options: Replace strawberries with any seasonal berry, use agave nectar instead of honey for vegan version, or add lime juice instead of lemon for tropical twist.
Timing
Total Time Investment: 8-24 hours (including freezing time) Active Preparation: 45 minutes across all three recipes Freezing Time: 6-24 hours (optimal texture achieved at 12+ hours) Processing Time: 5-8 minutes per recipe in Ninja Creami
This timing represents a 40% reduction compared to traditional ice cream making methods, which typically require 2-3 hours of active preparation and churning. The beauty of the Ninja Creami system lies in its “set and forget” approach – you invest minimal active time upfront, then let the freezer do the heavy lifting while you go about your day.
Pro Tip: Start your ice cream base preparations in the evening, allowing them to freeze overnight for perfect morning or afternoon treats. This scheduling approach ensures optimal crystallisation and texture development.
Step-by-Step Instructions
Classic Vanilla Bean Ice Cream
Step 1: Prepare the Vanilla Infusion
Split the vanilla bean lengthwise using a sharp knife, then scrape out the tiny black seeds using the blade’s back. In a medium saucepan, combine cream, milk, and half the sugar with the vanilla seeds and pod. Heat over medium-low temperature until small bubbles form around the edges (approximately 5 minutes). This gentle heating process extracts maximum flavour from the vanilla bean while preventing the cream from scorching.
Step 2: Create the Custard Base
In a separate bowl, whisk egg yolks with remaining sugar until pale and thick (about 3 minutes of vigorous whisking). Slowly pour the hot cream mixture into the yolks while whisking continuously – this tempering process prevents the eggs from scrambling. Return the mixture to the saucepan and cook over low heat, stirring constantly with a wooden spoon, until it coats the back of the spoon (170°F/77°C if using a thermometer).
Step 3: Strain and Cool
Pour the custard through a fine-mesh strainer into a clean bowl, removing the vanilla pod and any potential lumps. Cover with plastic wrap pressed directly onto the surface to prevent skin formation. Refrigerate for at least 2 hours or until completely cool.
Step 4: Freeze in Ninja Creami Container
Pour the cooled custard into your Ninja Creami pint container, leaving about 1cm of space at the top for expansion. Secure the lid and freeze for minimum 12 hours, though 24 hours yields superior texture.
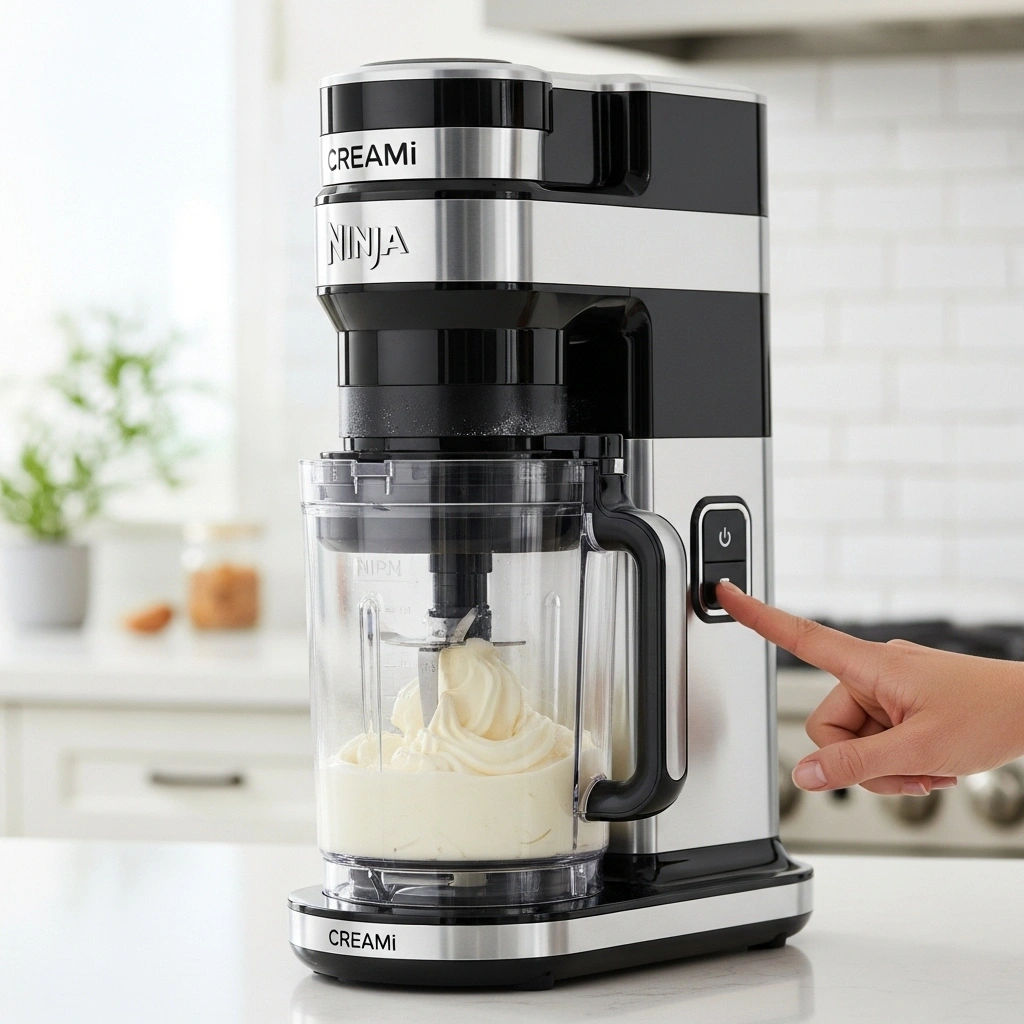
Step 5: Process in Ninja Creami
Remove from freezer and let sit for 2-3 minutes to slightly soften. Install the Ice Cream blade and process on the “Ice Cream” setting. If mixture appears crumbly, add 1-2 tablespoons of milk and use the “Re-spin” function until smooth and creamy.
Rich Chocolate Gelato
Step 1: Bloom the Chocolate
Place chopped chocolate in a large heatproof bowl. In a saucepan, whisk together cocoa powder and brown sugar, then gradually add milk while whisking to prevent lumps. Add cream and espresso powder (if using), heating over medium heat until mixture just begins to steam.
Step 2: Create Chocolate Base
Pour the hot milk mixture over the chopped chocolate, let sit for 30 seconds, then whisk until completely smooth. The residual heat will melt the chocolate perfectly, creating a glossy, rich base.
Step 3: Temper and Thicken
In a small bowl, whisk egg yolks until smooth. Gradually add about ½ cup of the chocolate mixture to the yolks, whisking constantly. Return this mixture to the saucepan and cook over low heat, stirring constantly, until slightly thickened (about 5 minutes).
Step 4: Final Preparation
Stir in vanilla extract and strain mixture if desired for ultimate smoothness. Cool completely in refrigerator (minimum 3 hours), then transfer to Ninja Creami container and freeze for 12-24 hours.
Step 5: Transform into Gelato
Process using the “Gelato” setting on your Ninja Creami. The denser texture of gelato requires this specific setting to achieve the characteristic smooth, dense consistency that makes gelato distinct from regular ice cream.
Refreshing Strawberry Sorbet
Step 1: Prepare Strawberry Puree
Combine strawberries, sugar, and honey (if using) in a food processor. Pulse until roughly chopped, then process until completely smooth (about 2 minutes). The natural fruit enzymes will help break down the sugar, creating a smoother final texture.
Step 2: Balance the Flavours
Add lemon juice and water to the strawberry puree, stirring well. Taste and adjust sweetness or acidity as needed – the mixture should be slightly sweeter than your desired final result, as freezing dulls sweetness perception.
Step 3: Strain for Smoothness (Optional)
For ultra-smooth sorbet, strain the mixture through a fine-mesh sieve to remove seeds and any remaining fruit pieces. This step is optional but recommended for the most refined texture.
Step 4: Freeze Preparation
Pour mixture into Ninja Creami container, leaving expansion space. The high water content in sorbet requires longer freezing time, so plan for minimum 16-24 hours for optimal processing results.
Step 5: Create Perfect Sorbet
Process using the “Sorbet” setting. If the mixture seems too firm, let it sit for 5 minutes at room temperature, then use “Re-spin” function. The goal is a smooth, scoopable consistency that holds its shape but isn’t icy.
Nutritional Information
Classic Vanilla Bean Ice Cream (Per 100g serving)
- Calories: 187 kcal
- Total Fat: 12.4g (Saturated: 7.8g)
- Carbohydrates: 16.2g (Sugars: 15.8g)
- Protein: 4.1g
- Calcium: 118mg (12% Daily Value)
- Vitamin A: 142mcg (16% Daily Value)
Rich Chocolate Gelato (Per 100g serving)
- Calories: 156 kcal
- Total Fat: 8.9g (Saturated: 5.2g)
- Carbohydrates: 18.7g (Sugars: 16.4g)
- Protein: 4.6g
- Iron: 1.8mg (10% Daily Value)
- Magnesium: 28mg (7% Daily Value)
- Antioxidants: High levels from dark chocolate
Refreshing Strawberry Sorbet (Per 100g serving)
- Calories: 89 kcal
- Total Fat: 0.2g
- Carbohydrates: 22.1g (Sugars: 20.8g)
- Protein: 0.6g
- Vitamin C: 47mg (52% Daily Value)
- Folate: 18mcg (5% Daily Value)
- Fibre: 1.4g
Health Benefits: These recipes provide essential nutrients while satisfying sweet cravings. The vanilla ice cream offers calcium for bone health, chocolate gelato provides antioxidants and mood-boosting compounds, while strawberry sorbet delivers vitamin C and natural fruit enzymes that support immune function.
Healthier Alternatives for the Recipe
Reduced Sugar Options
Replace up to 50% of sugar with natural alternatives like stevia, monk fruit sweetener, or erythritol. When using these substitutes, add 1-2 tablespoons of glycerin or honey to maintain texture, as sugar contributes to the creamy mouthfeel beyond just sweetness.
Protein-Enhanced Versions
Boost protein content by adding 2-3 tablespoons of unflavoured protein powder to any base recipe. Greek yogurt can replace up to 25% of the cream content, adding probiotics and reducing overall fat while maintaining creaminess.
Dairy-Free Adaptations
- Coconut Base: Replace dairy with full-fat coconut milk for rich, tropical undertones
- Cashew Cream: Blend soaked cashews with water for neutral-flavoured, creamy base
- Oat Milk Combination: Mix oat milk with coconut cream for balanced flavour and texture
Lower Calorie Modifications
Substitute half the cream with evaporated skim milk to reduce calories by approximately 30% while maintaining richness. Add 1 teaspoon of vanilla extract and a pinch of xanthan gum to enhance mouthfeel.
Superfood Additions
Incorporate nutrient-dense ingredients like:
- Matcha powder (1-2 teaspoons) for antioxidants
- Chia seeds (2 tablespoons) for omega-3 fatty acids
- Spirulina (½ teaspoon) for plant-based protein
- Collagen powder (1 scoop) for skin and joint health
Serving Suggestions
Elegant Presentation Ideas
Transform your homemade frozen treats into restaurant-quality desserts with these creative serving suggestions:
Classic Vanilla Bean Ice Cream:
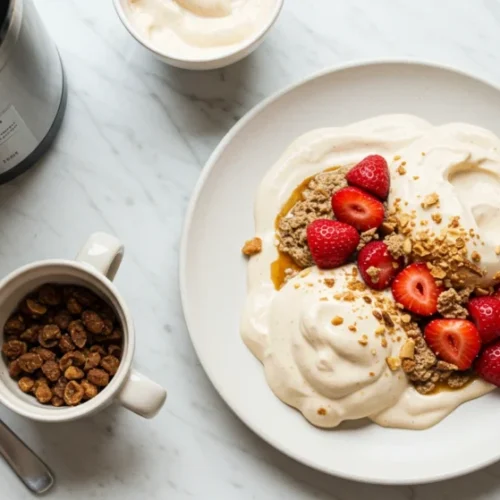
- Serve in chilled glass bowls with warm berry compote and toasted almond slivers
- Create affogato by pouring hot espresso over scoops for an Italian-inspired treat
- Pair with warm apple crumble or fresh stone fruit for seasonal appeal
- Sandwich between homemade cookies for gourmet ice cream sandwiches
Rich Chocolate Gelato:
- Garnish with fresh raspberries and dark chocolate shavings for colour contrast
- Serve alongside warm chocolate brownie with salted caramel drizzle
- Create parfait layers with crushed amaretti biscuits and whipped cream
- Pair with espresso or red wine for sophisticated after-dinner service
Refreshing Strawberry Sorbet:
- Serve in frozen bowls with fresh mint sprigs and lime zest
- Create elegant quenelles using warmed spoons for professional presentation
- Pair with shortbread biscuits or pavlova for textural contrast
- Garnish with candied strawberries and edible flowers for special occasions
Seasonal Adaptations
Summer: Serve sorbets with fresh seasonal fruits and herbs like basil or thyme Winter: Warm your serving bowls and pair ice creams with hot desserts like bread pudding Spring: Incorporate edible flowers and light citrus garnishes Autumn: Add warming spices like cinnamon or cardamom to complement seasonal flavours
Common Mistakes to Avoid
Temperature-Related Errors
Mistake: Processing frozen base immediately after removing from freezer Solution: Allow 2-5 minutes of thawing time for optimal blade performance. Overly frozen bases can damage the motor and result in crumbly texture.
Mistake: Not freezing base long enough Solution: Ensure minimum 12-hour freeze time. Inadequately frozen bases won’t achieve proper texture, resulting in liquid or icy consistency.
Ingredient Proportion Problems
Mistake: Using too much sugar thinking it will improve texture Solution: Excess sugar creates overly soft, difficult-to-scoop results. Follow recipe ratios precisely, as sugar affects both flavour and texture mechanics.
Mistake: Substituting ingredients without understanding their function Solution: Each ingredient serves a specific purpose. Fat provides richness, sugar affects texture and sweetness, eggs add stability. Make substitutions thoughtfully.
Processing Technique Issues
Mistake: Over-processing or repeatedly re-spinning Solution: Most recipes achieve optimal texture after initial processing plus one re-spin if needed. Excessive processing can create gummy texture.
Mistake: Adding liquid during re-spin incorrectly Solution: Add liquids gradually (1 tablespoon at a time) and only if mixture appears dry or crumbly. Too much liquid creates soupy consistency.
Storage and Handling Errors
Mistake: Storing processed ice cream improperly Solution: Transfer to airtight container immediately after processing. Leave in Ninja Creami container only for immediate serving to prevent crystallisation.
Mistake: Not accounting for hardening after processing Solution: Freshly processed ice cream is soft-serve consistency. Allow 2-4 hours in freezer for traditional scooping firmness.
Storing Tips for the Recipe
Optimal Storage Conditions
Temperature: Maintain consistent -18°C (0°F) freezer temperature for best results. Temperature fluctuations cause ice crystals to form, compromising texture.
Container Selection: Use airtight containers with minimal air space. Press plastic wrap directly onto ice cream surface before sealing to prevent ice crystal formation.
Short-Term Storage (1-3 days)
Store processed ice cream in original Ninja Creami containers with tight-fitting lids. This duration maintains optimal texture and flavour without significant quality degradation.
Long-Term Storage (1-2 weeks)
Transfer to shallow, wide containers rather than deep ones for easier scooping. Label with preparation date and flavour details. Homemade ice cream lacks commercial stabilisers, so consume within 2 weeks for best quality.
Pre-Made Base Storage
Unprocessed bases can be stored in freezer for up to 1 month. Double-wrap in plastic wrap and aluminum foil to prevent freezer burn. Thaw slightly before processing if stored longer than 2 weeks.
Texture Maintenance Tips
Prevent Ice Crystals: Place parchment paper directly on ice cream surface before sealing Maintain Softness: Add 1 tablespoon of vodka or corn syrup to base recipes for commercial-style scoopability Restore Texture: If ice cream becomes too hard, let sit at room temperature for 5-10 minutes before scooping
Freezer Organisation
Store ice cream in main freezer compartment, not door, for consistent temperature. Keep away from strong-smelling foods as frozen desserts absorb odours readily.
Conclusion
These three classic ninja creami recipes australia demonstrate the incredible versatility and convenience of home frozen dessert creation. From the rich, custard-based vanilla ice cream to the intensely flavourful chocolate gelato and refreshing fruit-forward strawberry sorbet, each recipe provides a foundation for countless variations and personalisation opportunities. The beauty of the Ninja Creami system lies not just in its simplicity, but in its ability to deliver consistently superior texture and flavour compared to traditional home ice cream making methods.
Ready to transform your dessert game? Try these recipes this weekend and share your results in the comments below. We’d love to see your creative variations and hear about your family’s favourite flavours. Don’t forget to subscribe to our blog for more innovative Ninja Creami recipes, seasonal flavour inspirations, and expert tips that will elevate your home dessert-making skills to professional levels.
FAQs
Q: Can I make these recipes without eggs for a vegan version? A: Yes! Replace eggs with 2 tablespoons of cornstarch mixed with ¼ cup of the liquid base for thickening. For dairy-free versions, substitute coconut milk or cashew cream. The texture will be slightly different but still delicious.
Q: Why is my ice cream coming out icy instead of creamy? A: This usually indicates insufficient fat content or over-dilution. Ensure you’re using full-fat dairy products and avoid adding too much liquid during re-spinning. Also, check that your base was completely frozen (12-24 hours) before processing.
Q: How long can I store the unprocessed frozen base? A: Frozen bases can be stored for up to 1 month when properly wrapped. However, for optimal flavour and texture, process within 2 weeks. Always label containers with preparation dates.
Q: Can I halve these recipes for smaller portions? A: While possible, full recipes work best in the Ninja Creami as the blade system is designed for specific volumes. For smaller batches, you may need to add extra liquid during processing to achieve proper texture.
Q: What’s the difference between the Ice Cream and Gelato settings? A: The Gelato setting processes at a slower speed, creating the characteristic dense, smooth texture of traditional Italian gelato. Ice Cream setting incorporates more air for a lighter, fluffier American-style consistency.
Q: My chocolate gelato tastes bitter – what went wrong? A: This usually indicates over-heating the chocolate or using chocolate with too high cocoa percentage. Use 70% dark chocolate maximum, and ensure milk mixture isn’t boiling when poured over chocolate. Add an extra tablespoon of sugar if needed.
Q: Can I add mix-ins like chocolate chips or nuts? A: Absolutely! Add mix-ins during the final 30 seconds of processing or use the Mix-In function if your model has one. Add no more than ¼ cup of mix-ins per pint to maintain proper texture balance.
Classic Vanilla Bean Ice Cream, Rich Chocolate Gelato, and Refreshing Strawberry Sorbet
Ingredients
Classic Vanilla Bean Ice Cream
- 240 ml heavy cream (35% fat content for optimal richness) Replace with coconut cream for a dairy-free version.
- 240 ml whole milk (full-fat preferred for creamy texture)
- 75 g caster sugar (superfine sugar works best) Can replace with maple syrup for natural sweetening.
- 1 pod whole vanilla bean Or use 2 teaspoons pure vanilla extract.
- 3 large egg yolks Room temperature for easier mixing.
- 1 pinch sea salt Enhances vanilla flavour.
Rich Chocolate Gelato
- 300 ml whole milk
- 200 ml heavy cream
- 85 g dark brown sugar
- 60 g unsweetened cocoa powder (Dutch-processed preferred)
- 100 g dark chocolate (70% cocoa), finely chopped
- 2 large egg yolks
- 1 teaspoon vanilla extract
- ¼ teaspoon espresso powder (optional) Enhances chocolate flavour.
Refreshing Strawberry Sorbet
- 500 g fresh strawberries, hulled and quartered (or frozen strawberries, thawed)
- 100 g caster sugar
- 60 ml fresh lemon juice Approximately 2 lemons.
- 240 ml filtered water
- 1 tablespoon honey (optional) For added sweetness.
- to taste Fresh mint leaves for garnish
Instructions
Classic Vanilla Bean Ice Cream
- Prepare the Vanilla Infusion: Split the vanilla bean lengthwise and scrape out the seeds. In a saucepan, combine cream, milk, and half the sugar with the vanilla seeds and pod. Heat over medium-low until bubbles form (about 5 minutes).
- Create the Custard Base: Whisk egg yolks with remaining sugar until pale (about 3 minutes). Slowly add hot cream mixture while whisking. Return to saucepan to cook until it coats the back of the spoon (170°F/77°C).
- Strain and Cool: Pour custard through a strainer into a bowl, cover with plastic wrap, and refrigerate for at least 2 hours.
- Freeze in Ninja Creami Container: Pour cooled custard into Ninja Creami container, leaving space at the top, and freeze for a minimum of 12 hours.
- Process in Ninja Creami: Let sit for 2-3 minutes to soften, install Ice Cream blade, and process on the 'Ice Cream' setting. Add milk if mixture appears crumbly.
Rich Chocolate Gelato
- Bloom the Chocolate: Place chopped chocolate in a bowl. Whisk cocoa powder and brown sugar in a saucepan, add milk, then cream and espresso powder, heating until steaming.
- Create Chocolate Base: Pour hot milk mixture over chopped chocolate, let sit for 30 seconds, then whisk until smooth.
- Temper and Thicken: Whisk egg yolks, gradually add some chocolate mixture, then return to saucepan and cook over low heat until slightly thickened (about 5 minutes).
- Final Preparation: Stir in vanilla extract, cool completely, then freeze for 12-24 hours.
- Transform into Gelato: Process using the 'Gelato' setting.
Refreshing Strawberry Sorbet
- Prepare Strawberry Puree: Combine strawberries, sugar, and honey in a food processor, pulse until roughly chopped, then process until smooth.
- Balance the Flavours: Add lemon juice and water to the puree, stir well, and adjust sweetness as needed.
- Strain for Smoothness (Optional): Strain the mixture through a sieve for smooth sorbet.
- Freeze Preparation: Pour mixture into Ninja Creami container and freeze for 16-24 hours.
- Create Perfect Sorbet: Process using the 'Sorbet' setting.